See how to use the Memento ink line to created a cohesive matching layered card in just a few steps. The beauty of this particular method is you may make a number of cards depending on your needs in more than one color scheme as shown in the bonus step. Finishing touches use irRESISTible Pico Embellisher, VersaMark Clear ink, and embossing powder.
Skill: Beginner
Time: One card 30 minutes plus dry time, multiples add additional time
Directions:
Step 1
Trim white cardstock to 4.25" x 5.5", this will allow a quicker placement in step 2 on the stamp platform. Center Image "A" from the Concord & 9th Triple-Step Floral Frame Stamp on the white cardstock and then adhere to the stamp platform. Ink Image "A" with Memento Bamboo Leaves. Double or triple stamp the image to create even darker images. (If doing multiple cards, continue stamping Image "A" until you have your desired quantity.)
Step 2
Place Image "B" from the Concord & 9th Triple-Step Floral Frame Stamp on the white cardstock so the small tulip shaped flowers line up with the stems. Look directly down through the stamp to judge the placement of the stamp. In this version Memento Cantaloupe is stamped first. Turn the image 180 degrees and double check image placement, then stamp in Memento Tangelo. (If doing multiple cards, continue stamping Image "B" until you have your desired quantity.)
Step 3
The stamp set has two stamps that will add the center of the roses and an additional layer to the small tulip shaped flowers. Use the same method as Step 2 for placement. If the center of the rose is slightly off, stamp again until the white area is inked.
Step 4--Bonus StepShown are the additional card fronts stamped during my session of triple-stamping. Once the layering stamps were in place I like to make multiple stampings for future use.
Step 5
Stamp "So Kind of You" in Memento Tangelo using a stamp platform. Stamp over the image with VersaMark Clear ink and heat emboss with clear embossing powder. Use an ink blusher with a light hand to color around the image, the embossed sentiment will resist the ink. This sentiment has a matching die to allow you to die cut before adhering to your card front.
Step 6
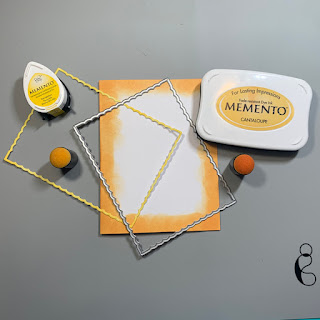
Trim white cardstock to 5.5" x 8.5" and fold in half to create an A2 card base. Ink the edges using an ink dauber with Memento Cantaloupe. The card front die also creates a very narrow border, this one is inked with Memento Dandelion using an ink dauber.
Step 7
Place the card front face down and align the Dandelion border to the card front. Carefully place Tear It! tape around all four edges of the card front. Take time to "catch" the border without having the Tear It! tape show on the front.
Step 8
Adhere card front to card base and add the die cut sentiment with dimensional foam adhesive.
Step 9
Learn from my mistake! Add the irRESISTible Pico Embellisher in Dandelion AFTER the card is assembled to the center of the flowers besides the roses. The irRESISTible Pico Embellisher will retain the rounded shape after drying. When I die cut the card front after adding the irRESISTible Pico Embellisher the dots were flattened. However it was an easy rescue as another layer of the irRESISTible Pico Embellisher added the rounded dimension back to the flower centers!
Art Supplies
Imagine
- Memento--Bamboo Leaves, Cantaloupe, Tangelo, Dandelion (bonus cards--Pear Tart, Lilac Posies, Sweet Plum, Rose Bud)
- VersaMark Clear
- Embossing Powder Clear
- irRESISTible Pico Embellisher--Dandelion (Bonus cards--Lilac Posies)
- Ink Daubers
- Tear It! Tape
Other
- Concord & 9th Triple-Step Floral Frame stamp and die
- White cardstock
- Dimensional foam adhesive
- Stamp platform


No comments:
Post a Comment
I love to read your comments, they make me smile to know you enjoy my creativity! Thank you!