Everyone's favorite to showcase your latest, greatest make! Anything goes at Retro Rubber!

Sometimes I just take time to sit and play with my crafting stash. This is one of those times! I also had a huge number of birthday's coming up, so there was a purposed behind creating some pretty images.

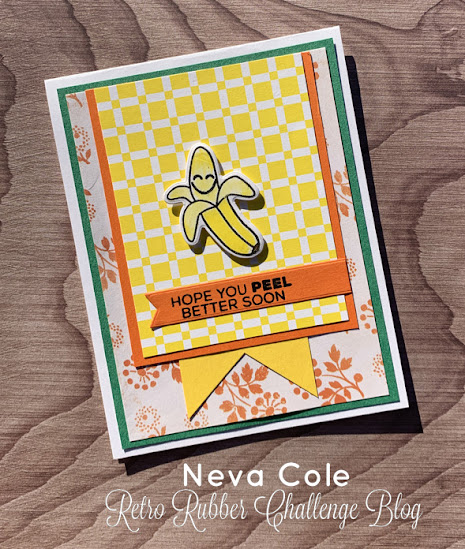
This is one of six cards created from this same stamped image. All of the cards look different as the image was cut at differently and placed on the card front.
- The image is Altenew's Flourishing Garden released in 2023. The image is stamped in Memento Tuxedo Black. I had a small selection of Altenew Fresh Die inks and used them to stencil in the layers. Blue Horizons, Teal Tempest, honeydew Flow, Lemonade Stand and Perodolite.
- This kit include an embossing folder as well. The cardstock I had to match wasn't large enough to create a full width card panel, so being creative I inked the edges in Teal Tempest after pressure embossing the cardstock.
- After I decided on the placement of the floral images I trimmed the edges off of the card front and adhered the layers together.
- I also just realized that that same Scrapbook.com Happy Birthday sentiment was also featured on a recent card here on the blog. This time it is stamped on yellow cardstock in the Teal Tempest and die cut.
Come and have fun with us and show us what you have created that is your favorite Anything Goes! Just a few guidelines to follow:
- We require stamps older than one year. If we feel you are using newer stamps, you may be disqualified from the challenge without notification.
- New papers/dies are OK – but you must use at least one stamp older than a year and describe the age in your blog post.
- Please note that all challenges require the use of at least one stamp older than a year.
- Post your new creation to your blog or online gallery. Use keyword RRCB259. No backlinking.
- Link back to the blog using the Linky Tools by the due date.
- Enter as many times as you like.
- Feel free to combine our challenge with a maximum of 5 challenges. Entries linked to more than 5 challenges will be disqualified without notification.
- If your project is posted on a private group site such as Split Coast Stampers or a photo sharing site not all DT members may be able to comment. Thank you for understanding.
- Turn off Word Verification. We love to comment but word verification can make that difficult.