It is hard to believe we are already at the end of July? At any rate we have another sketch challenge over at Retro Rubber, one created by yours truly.

I didn't have specific images in mind when creating this sketch, but once it was time to make a card the stamps from Hero Arts release in 2017 of Color Layering Koi and Frame Cuts were a perfect fit. When I lived in Japan as an exchange student I would marvel at the Koi ponds and gorgeous fish.

To maintain a sense of proportions I decided a A7 (5" x 7") would work best. I used cool serene colors for this card because this card would be sent to my mother for my dad's birthday. One his birthday she visits his columbarium at the Willamette National Cemetery. I cannot be there is person, but want her to know that I am there with her.
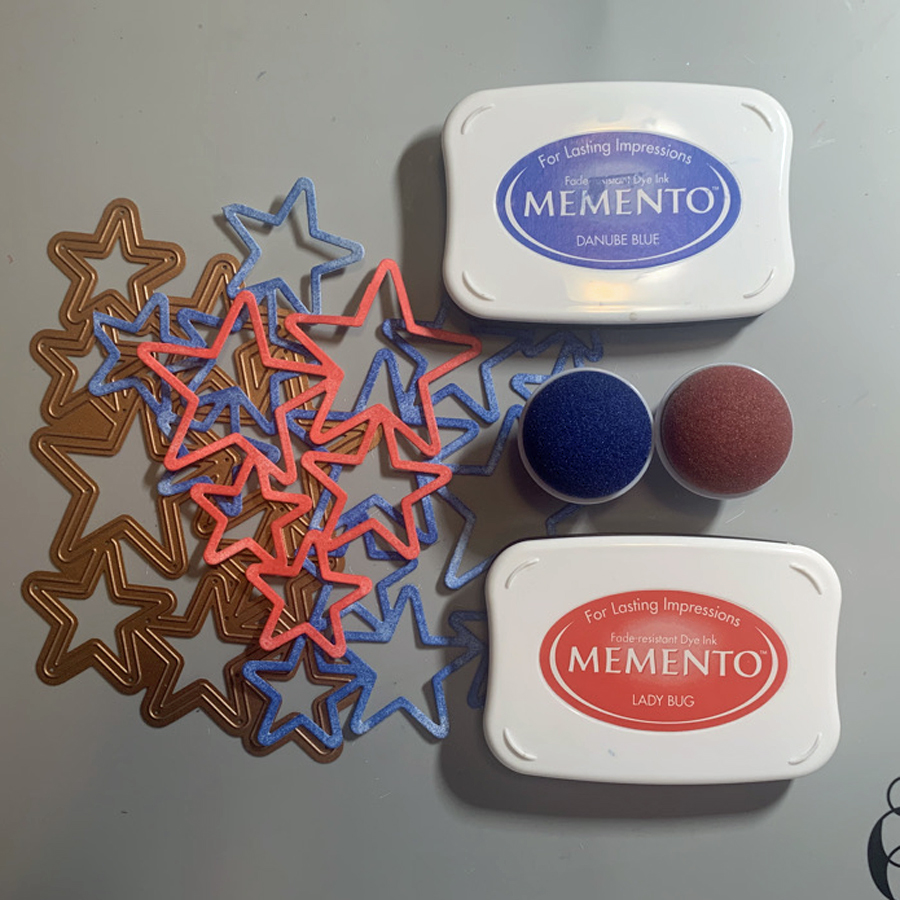
- The koia, leaves, and water lily were stamped in layers with Versa Magic in Thatched Straw, Mango, Aspen Mist, See Breeze, and Night Sky.
- The diagonal strip is masked off, and inked in Thatched Straw and the words stamped in Mango.
- The light aqua card base is trimmed to 4.75" x 6.75.
- White cardstock is trimmed to 4.5" x 6.5" and a circle is die cut to match the sketch.
- The bubble images are stamped inside the open area in Night Sky.
- The base and white cardstock is layered and mounted with dimensional foam adhesive to the card front.
- The sentiment is stamped in Night Sky and die cut with Fawn Cuts Banners and inked in Night sky as well.
- The image layers are added to the card.
- Nuvo Crystal Drops in Metallic Navy Blue are added to finish the card.
Crafting this card brought me peace too as I fondly remembered my Dad, it's been 3 years since his passing. I am thankful for the parents that raised me!!!!
Please do join along with us at Retro Rubber. We have a few simple rules.
- We require stamps older than one year. If we feel you are using newer stamps, you may be disqualified from the challenge without notification.
- New papers/dies are OK – but you must use at least one stamp older than a year and describe the age in your blog post.
- Please note that all challenges require the use of at least one stamp older than a year.
- Post your new creation to your blog or online gallery. Use keyword RRCB259. No backlinking.
- Link back to the blog using the Linky Tools by the due date.
- Enter as many times as you like.
- Feel free to combine our challenge with a maximum of 5 challenges. Entries linked to more than 5 challenges will be disqualified without notification.
- If your project is posted on a private group site such as Split Coast Stampers or a photo sharing site not all DT members may be able to comment. Thank you for understanding.
- Turn off Word Verification. We love to comment but word verification can make that dif