See How to Make a Stamp Multi-Colored
By Neva Cole
In today's crafting tutorial, I will show you how to use a single stamp image and stamp each line in a different color ink. I will also share how to blend VersaMagic inks for a background and take it up a notch by dry embossing.

Skill: Intermediate
Time: 1 hour
Directions:
Step 1
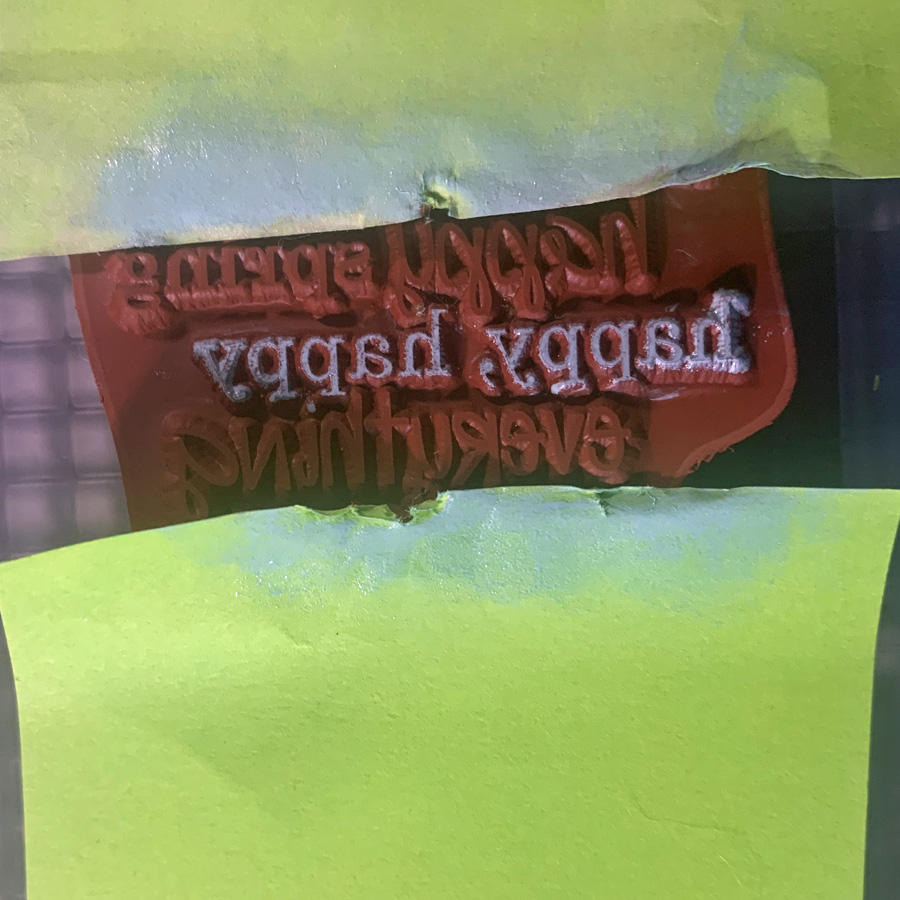
Place image on stamp positioner and use a post-it to cover the bottom three lines of the image. I used a sentiment stamp from Unity Stamp Co. titled "Everything Easter" with four lines of text. Use a paper piercer to tuck the post-it securely in place. Ink the top line with VersaMark in Aloe Vera. Remove post-it and stamp image on cardstock. Clean ink off of the post-it so you can use it for subsequent steps. Clean image after stamping and moving to Step 2. Repeat this after each step through step 4.

Step 2
Use two post-its to cover lines 1,3 and 4 and ink image with VersaMark in Spring Pansy.

Step 3
Use two post-its to cover lines 1,2, and 4 and ink image in VersaMark Sea Breeze.
Step 4
Use a post-it to cover lines 1,2, and 3 and ink image in VersaMark in Spring Pansy.

Step 5
Clean entire image and ink in VersaMark and stamp image over the colored lines. Heat emboss with Iridescent Embossing Powder.

Step 6
Using ink blushers ink a section of 4" x 5.25" cardstock in VersaMagic Aloe Vera, Spring Pansy, and Sea Breeze and blend into each color. Use an ink blusher to ink over the heat embossed sentiment image with VersaMagic Pixie Dust.

Step 7
Pressure emboss 4" x 5.25" blended color cardstock with Lifestyle Crafts Tide embossing folder.

Step 8
Use a sanding block or sand paper to gently remove the color from the raised areas of the embossed cardstock. The white color of the cardstock will show through.

Step 9
Die cut sentiment image and use and ink blusher to in the edges in VersaMagic Spring Pansy.

Step 10
Ink the edges of an A-2 (4.25" x 5.5") card base in Versa Magic Spring Pansy.

Step 11
Adhere layers together with foam adhesive. Adhere pearl embellishments in curly- ques of the embossed background. Adhere pearl embellishments to the center of small flower sequins and adhere with On Point Glue. Tie a triple looped bow from sheer ribbon and adhere with On Point Glue.

Art Supplies
Imagine
- VersaMagic-Pixie Dust, Spring Pansy, Aloe Vera, Sea Breeze
- VersaMark
- Embossing Powder-Iridescent
- Ink blushers
- On Point Glue
Other
- Unity Stamp Co. Everything Easter
- Post-it notes
- Paper piercer
- Lifestyle Crafts Tide embossing folder
- Sanding block
- SpiegelmomScraps 50's Sock Hop sequins
- Foam adhesive
That is gorgeous.
ReplyDelete