Thursday, April 29, 2021

Learn How To Make Elegant Flowers For A Spectacular Mother's Day Card

In today's crafting tutoring I will share how to make absolutely gorgeous flowers from foam paper and StazOn inks that hold their shape beautifully.  Create a very special card to give to a Mother for Mother's Day. 


Skill:  Advanced

Time:  3 hours plus time to dry ink on art foam paper

Directions:


Step 1

Stamp Calla Lily image in StazOn Bordeaux.  Stamp Calla Lily Leaves image in StazOn Forest Green.  Set aside while working on the rest of the card.  The ink will take time to dry, otherwise it will smear or come off on your fingers.

Step 2

Trim a sheet of Strathmore Bristol Vellum Finish 100 lb paper to 7" x 15".  My pad comes in 14" x 17" so it will make two cards of this style from one sheet.  Score at 5" from each end and accordion fold sheet using bone folder to crease folds.  

 
Step 3

Place folded cardstock into Largest die from the Teardrop Lattice Gateway die by Heartfelt Creations.  Run through die cut machine.  Remove curved corners once they are cut, to allow all layers to cut through.

Step 4 

Die cut decorative card front from white cardstock.  It is from the Heartfelt Creations Lattice Swirl Gateway die.  Die cut lower portion of Heartfelt Creations Lattice Flourish Gateway die (shown below).

Step 5

Use an ink blusher and Delicata Rose Gold to color die cuts.

Step 6

Use Versa Magic Aqua Splash Dew Drop to ink all outside edges of the tri-fold card.  Front is shown.

Step 7 

Using direct to paper method ink the front panel and back panel of the tri-fold card.  Shown is the back panel.   

Step 8

Die cut scalloped edge die from the Hearfelt Creations Scalloped Flourish Gateway die.  Ink the edge with Versa Magic Perfect Plumeria.  Using direct to paper method ink the center of the panel.


Step 9

Stamp the sentiment from Heartfelt Creations Fancy Special Day Stamp in StazOn Bordeaux at the top of the panel from step 8.

Step 10

Center Lattice Flourish Gateway die below the sentiment and trim to fit.  Adhere with On Point glue. 

Step 11

Die cut the third from the largest Hearfelt Creations Eyelet Frame Gateway from white cardstock.  Ink the edges and the center of the panel with Versa Magic Aqua Spalsh.  Die cut center panel form Heartfelt Creations Regal Lattice Gateway die from white cardstock.  Use an ink blusher to color the die cut.

Step 12

Die cut two smallest Eyelet Frame Gateway dies from white cardstock.  Ink smallest with Versa Magic Aqua Splash around the edges and lightly in the center.  Stamp with Inspire Me Sentiment Stamp in Caribbean Green StazOn ink.  Ink the larger die with Perfect Plumeria around the edges and lightly in the center.  Stamp "Happy Mother's Day" from the Hearfelt Thank You Sentiments in StazOn Caribbean Green. 

Step 13

Apply Tear It tape to the back of prepared panels from Steps 9, 10, and 11.  (Notice that I decided to change color used for the sentiments  for step 12 and simply used the opposite side of the die cut.)

Step 14

Use and ink dauber to color the leaves and Calla Lily images with StazOn ink in Caribbean Green and Bordeaux.  Set aside for the ink to dry, I let mine dry over-night to keep from staining my fingers in the next step and smudging the ink.

Step 15

Die cut the Calla Lily and leaves.  Prep space to create flowers.  Heat glue, glue gun, die cuts and Heartfelt Creations Pastel Pollen Stamens.  (Note I colored the back of the die cuts as well, but turns out it is not necessary because the back of the images do not show on the finished card.)

Step 16

Holding the Cally Lily die cut with a pair of tweezers and heat the back of foam paper until it just begins to curl.  The foam paper will curve towards the heat.  While the foam paper is still warm gently add a small dab of hot glue at the very base of the Cally Lily.  Place stamen and pinch closed, hold for a moment until hot glue cools and flower will hold it's shape.  Repeat with remaining five flowers.


Step 17

Heat the back of the leaf image until it curls.  While it is still warm pinch into shape until the foam paper has cooled and it will hold its shape. 

Step 18

Using small dots of On Point glue adhere the Lattice Swirl Gateway die cut from Steps 4 and 5 to the front panel of the card.  


Step 19

Apply Scalloped panel to middle of section of the tri-fold card. 

Step 20

Use hot glue to adhere foam flowers to the front of the card as shown above

 
Step 21

Continue to adhere flowers and leaves to the card front as shown.  Adhere the sentiment over the trimmed wires from the stamens.

Step 22

Adhere die cuts from Step 11 to the back panel of the card.  Adhere flower and leaf and the sentiment panel in place as shown.  

Art Supplies

Imagine

  • StazOn Ink Pad-Bordeaux, Caribbean Green, Forest Green
  • Versa Magic Ink Pad-Perfect Plumeria, Aqua Splash
  • Delicata Ink Pad-Rose Gold
  • Ink Blushers
  • Ink Daubers
  • On Point Glue
  • Tear It Tape!

Other

  • Strathmore Bristol Vellum Finish 100 lb cardstock
  • Bone folder
  • Heartfelt Creations Art Foam Paper
  • Heartfelt Creations Calla Lily stamp and die
  • Heartfelt Creations Inspire Me Sentiment stamp
  • Heartfelt Creations Fancy Special Day stamp
  • Heartfelt Creations Thank You Sentiments stamp
  • Heartfelt Creations Scalloped Flourish Gateway die
  • Heartfelt Creations Lattice Swirl Gateway die
  • Heartfelt Creations Lattice Flourish Gateway die
  • Heartfelt Creations Regal Lattice Gateway die
  • Heartfelt Creations Eyelet Frame Gateway die
  • Heartfelt Creations Pastel Pollen Stamens
  • Tweezers
  • Heat Gun
  • Hot Glue Gun and hot glue sticks

Tuesday, April 27, 2021

Retro Rubber Sketch Chanllenge Congrats Grad Card

 Our new challenge over at Retro Rubber is a sketch, very fun and easy to modify for many types of cards.  Go check out what the design team has done with this sketch, it is amazing!


It is that time of year that graduations are happening, so I pulled out my tried and true Technique Tuesday Grad set from 2012 to create this card.


  • The image is stamped in Encore Silver and heat embossed with Stampendous Sterling Silver embossing powder.  I used my Scan-n-Cut to die cut the image.
  • A sheet of blue ombre paper was pressure embossed with Darice Grad Hats.
  • Congrats Grad is stamped in Memento Paris Dusk.
  • The circle is Elizabeth Craft Designs Stitched Circles.
  • The diploma is a die from Quickutz that is die cut from blue and silver cardstock.
  • The card is assembled with a scrap of blue cardstock under the layers to finish off the sketch.
  • The out edge is inked with Memento Paris Dusk.

I hop you have fun with this sketch.  It helped me put together a unique graduation card in a short amount of time.

Thanks for stopping by and as always, I enjoy reading your comments!

Tuesday, April 13, 2021

Retro Rubber Pastel Birthday Card

 Even though I am late with my post . . . it is time for another Retro Rubber challenge!  


I have newish Kaleidacolor ink pad in Baby Powder that was perfect mix of pastels.


  • A brayer was used to ink glossy card stock with the Kaleidacolor ink pad in Baby Powder.  It was then pressure embossed with Cuttle Bug Devine Swirls embossing folder.
  • The image is from Unity Stamp Company's July 2013 . . . birthday jubilee.  It is stamped in Orchid Versa Color and heat embossed in Iridescent Embossing powder. and fussy cut.
  • The yellow ink is from the Kaleidacolor ink pad in Baby Powder and is applied with an ink dauber.
  • The card front is adhered to the card base, and the sentiment is adhered with dimensional foam adhesive.
  • The finishing touches are sequins from different sets from Spiegelmom Scraps:  50's Sock Hop, Marmalade Tarte, Grape Juice, and Southern Blue Bells.  The sequins are adhered with On Point glue.

Thanks so much for stopping by!  Please do play along with us at Retro Rubber.   We have a few simple rules:  1) Use a stamp older than one year and tell us how old the stamp is  2)  Enter up to ten challenges including ours 3) Enter our challenge up to three times to be considered for top pick.

Do stop by the blog and check out the Design Team's creations!

Tuesday, March 30, 2021

Rainbow time for Retro Rubber

 It is time for a new spring themed challenge over at Retro Rubber! We have a few simple rules to play along.  1)  Use at least one stamp that is a year or older 2)  Tell us how old the stamp is 3)  Enter up to ten challenges including ours.  Have fun!


A few years back I purchased a club membership with The Stamps of Life.  The theme for March of 2017 was rainbows.  I've used these images a few times as they make great encouragement cards, spring time cards, and birthday cards.  All images and dies are from The Stamps of Life Rainbow2Stamp, Sayings4Rainbows, Solids4Rainbows, and Rainbows2stamp Die.  

  • The rainbow and cloud image is stamped in Memento Tuxedo Black.
  • Using a stamp positioner I stamped each color of the rainbow separately.  Easy, peasy with clear stamps!  The following Versa Colors were used:  Scarlet, Orange, Canary, Fresh Green, Cyan and Heliotrope.  The entire image is die cut with the outline die.
  • A set of clouds were die cut and then stamped with Essential Glue Pad and then dusted with Fun Stamps Snow White Fun Flock.  The clouds have a slightly "fuzzy texture" if you look closely!  After drying I tapped off the excess Fun Flock.
  • The background was created with a Deja Views ruler I received for National Scrapbook Day back in 2001.  It included both the sun burst and the cloud shapes.  The sunburst was traced on a post-it then fussy cut and both the positive and negative parts were used.  First I placed the post-it to ink the sun  with Canary and Orange.  Then the sun was covered while I inked in the layers of clouds using Versa Color Smoke Blue.  
  • The sentiment is stamped in Orange and heat embossed with Iridescent Embossing Powder.  
  • The base card is inked with Orange as well.  
  • The layers are adhered together using foam adhesive to add a little dimension.
  • The final touch was a few sequins from Spieglmomscraps Southern Blue Bells.  They are applied with On Point Glue.

 All the supplies unless other wise mentioned are by Tsukineko and Imagine. 

The day I made this card the wind was gusting to 38 MPH, but I wanted to take the photo in sunlight as the sequins, iridescent embossing powder and fun flock would all photograph better.  Solution?  Headed to my greenhouse and set up a little photo shot! 

Please do come join the fun at Retro Rubber and play along with our current challenge!  Head over and see the lovely cards the rest of the DT created for this challenge, they are lovely!


Wednesday, March 24, 2021

See how to Make a Stamp Multi-Colored for Imagine

See How to Make a Stamp Multi-Colored

By Neva Cole

In today's crafting tutorial, I will show you how to use a single stamp image and stamp each line in a different color ink.  I will also share how to blend VersaMagic inks for a background and take it up a notch by dry embossing.  

Skill:  Intermediate

Time: 1 hour

Directions:

Step 1

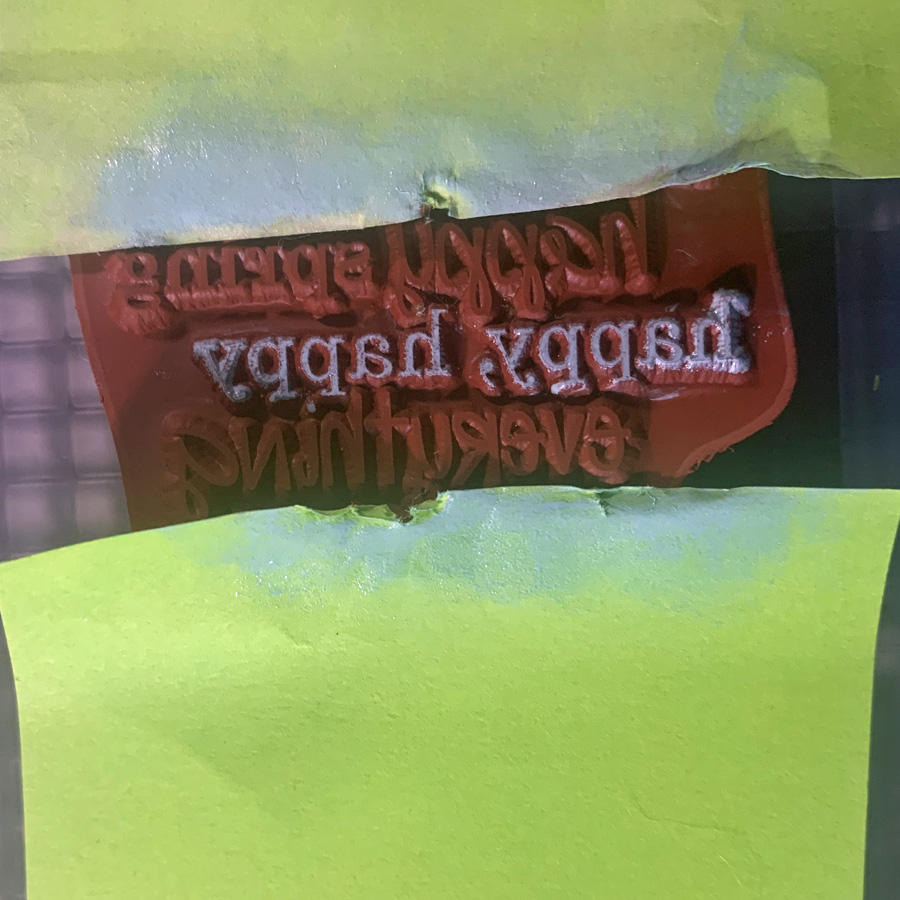
Place image on stamp positioner and use a post-it to cover the bottom three lines of the image.  I used a sentiment stamp from Unity Stamp Co. titled "Everything Easter" with four lines of text.  Use a paper piercer to tuck the post-it securely in place. Ink the top line with VersaMark in Aloe Vera.   Remove post-it and stamp image on cardstock. Clean ink off of the post-it so you can use it for subsequent steps.  Clean image after stamping and moving to Step 2.  Repeat this after each step through step 4.

Step 2

Use two post-its to cover lines 1,3 and 4 and ink image with VersaMark in Spring Pansy. 

Step 3

Use two post-its to cover lines 1,2, and 4 and ink image in VersaMark Sea Breeze. 


Step 4

Use a post-it to cover lines 1,2, and 3 and ink image in VersaMark in Spring Pansy.


 Step 5

Clean entire image and ink in VersaMark and stamp image over the colored lines.  Heat emboss with Iridescent Embossing Powder.


Step 6

Using ink blushers ink a section of 4" x 5.25" cardstock in VersaMagic Aloe Vera, Spring Pansy, and Sea Breeze and blend into each color.  Use an ink blusher to ink over the heat embossed sentiment image with VersaMagic Pixie Dust.

Step 7

Pressure emboss 4" x 5.25" blended color cardstock with Lifestyle Crafts Tide embossing folder.


Step 8

Use a sanding block or sand paper to gently remove the color from the raised areas of the embossed cardstock.  The white color of the cardstock will show through.


Step 9

Die cut sentiment image and use and ink blusher to in the edges in VersaMagic Spring Pansy.


Step 10 

Ink the edges of an A-2 (4.25" x 5.5") card base in Versa Magic Spring Pansy.


Step 11

Adhere layers together with foam adhesive.  Adhere pearl embellishments in curly- ques of the embossed background.  Adhere pearl embellishments to the center of small flower sequins and adhere with On Point Glue.  Tie a triple looped bow from sheer ribbon and adhere with On Point Glue.

Art Supplies

Imagine

  • VersaMagic-Pixie Dust, Spring Pansy, Aloe Vera, Sea Breeze 
  • VersaMark
  • Embossing Powder-Iridescent
  • Ink blushers
  • On Point Glue

Other

  • Unity Stamp Co.  Everything Easter
  • Post-it notes
  • Paper piercer
  • Lifestyle Crafts Tide embossing folder
  • Sanding block
  • SpiegelmomScraps 50's Sock Hop sequins
  • Foam adhesive


Tuesday, March 16, 2021

Anything Goes for Retro Rubber

 Always a fan favorite is an "Anything Goes" challenge.  Come play along and enter your project at Retro Rubber.  


A few quick reminders:  1)  you must use at least one stamp that is older than a year AND let us know how long you have had it.  2)  You may enter up to ten challenges including ours.  3)  Please limit your entries to our challenge to three projects.  

If there is one kind of card that is more difficult to make it is a Sympathy Card, especially for family and close friends.  Often they are a card that you need at a time when your crafting mojo may not be working because of the circumstances.  With that said I do encourage you to have a sympathy card or two on hand so they are ready to send as needed.  Recently I needed three to send to a friend and her daughters following the passing of their dad and grandpa.  I am really glad I had cards in my stash ready to go!


This card is simple, elegant, and a quick make:

  • Trim white cardstock to 4.75 " x 6.25" and pressure emboss with Darice Corner Scroll embossing folder.  Edge the card front with Delicate Silver Shimmer.
  • Stamp sentiment in Delicata Silver Shimmer.  It is from the Sincere Sentiments set released in 2017 by SCDesigns.
  • Heat emboss with Imagine Sparkle Embossing powder.
  • Secure sheer ribbon around card front then using a second piece of ribbon, tie a knot around the first ribbon.  It is much easier to get the correct placement of the knot using this method.
  • Adhere card front to A-7 card base.

Please come join our Anything Goes challenge and see what you come up with to delight the design team.  Thanks so much for stopping by!


Tuesday, March 2, 2021

Tic Tac Toe for Retro Rubber Birthday Card

Here we are in March already and a new Retro Rubber Challenge is up to play with your paper and stamps!


I choose to go with the top line, and some really ancient supplies!  The Rhinestones or gems really caught my eye and so I ran with it.
 

  •  I started with the background paper from DCWV in my card scraps kits, called Posies Glitter Print.
  • Also in the card scrap kits were the matching cardstock colors.  
  • Using Spellbinders Labels Nine (released in 2010!) I die cut both layers.
  • Want 2 Scrap makes matching Nestabling to several of the Spellbinders dies, and this set was released in 2016.
  • The sentiment by Unity Stamp company "Jubilee" sentiment set released in July 2013 is stamped in Memento Luxe Sweet Plum and heat embossed with Iridescent Embossing Powder.  A few extra rhinestones from my stash finished the top die cut.
  • The background paper is edged in Memento Luxe Sweet Plum, and the card base in Memento Luxe Pear Tart.  
  • The die cuts are adhered with foam adhesive to finish up the card. 
Please do come join us at Retro Rubber Challenge and play along with our challenge.  We have a few simple rules: 1)  Use a stamp that is older than a year and needs a little inky love 2) tell us how old the stamp is 3) enter up to 10 challenges including ours.

Thanks so much for stopping by and know that I love reading your comments!