Tuesday, September 13, 2022

Sketch Time for a Halloween Birthday

Sketches are great way to  a quick start on a card.  The challenge at  Retro Rubber for the next two weeks is to use this sketch!


My sister-in-law has a Halloween birthday, so I typically make her an appropriate themed card.  This year I used the sketch for my inspiration.

I used all scraps from my color bins to create this card, it went together really quickly!

  • Darice Crackle Embossing Folder is used on yellow-orange card stock then the texture is popped with a direct inking of VersaFine Vintage Sepia.
  • A mat is trimmed from darker orange card stock.  The sentiment by Hero Arts It's Your Day 3/2015 is stamped in Memento Tuxedo Black.
  • The witch's hat is die cut with a Cheery Lynn Design die, Witch Hunt.  
  • Pumpkins are stamped on lighter orange cardstock in Memento Tuxedo Black with Joy Clair Trick or Treat stamp set from 2016.  They are die cut using a Brother ScanNCut.
  • The stems are colored with Chameleon Burnt Umber.
  • The layers are adhered together with the sentiment and pumpkins with dimensional foam tape.

I also wanted to share the interior of the card:


  •  The witch is from the Cheery Lynn Design Witch Hunt, die cut at the same time as the hat on the front of the card.
  • Silhouette Design Store font BIC Trick or Treat Regular is the fun sentiment on the inside of the card.
I am really pleased with the final result, and it was super fun create a card I know my sister-in-law will enjoy!  Please join us at Retro Rubber and play along with this quick and easy sketch!

CHALLENGE GUIDELINEs

  • We require stamps older than one year.  If we feel you are using newer stamps, you may be disqualified from the challenge without notification.
  • New papers/dies are OK – but you must use at least one stamp older than a year and describe the age in your blog post.
  • Please note that all challenges require the use of at least one stamp older than a year.
  • Post your new creation to your blog or online gallery.   Use keyword RRCB186.  No backlinking. 
  • Link back to the blog using the Linky Tools by the due date. 
  • Enter as many times as you like. 
  • Feel free to combine our challenge with a maximum of 10 challenges.  Entries linked to more than 10 challenges will be disqualified without notification.
  • If your project is posted on a private group site such as Split Coast Stampers or a photo sharing site not all DT members may be able to comment.   Thank you for understanding.
  • Turn off Word Verification.  We love to comment but word verification can make that difficult.

Thanks so much for stopping by, your comments are always appreciated!

Tuesday, August 30, 2022

Tag, you're it! from Retro Rubber

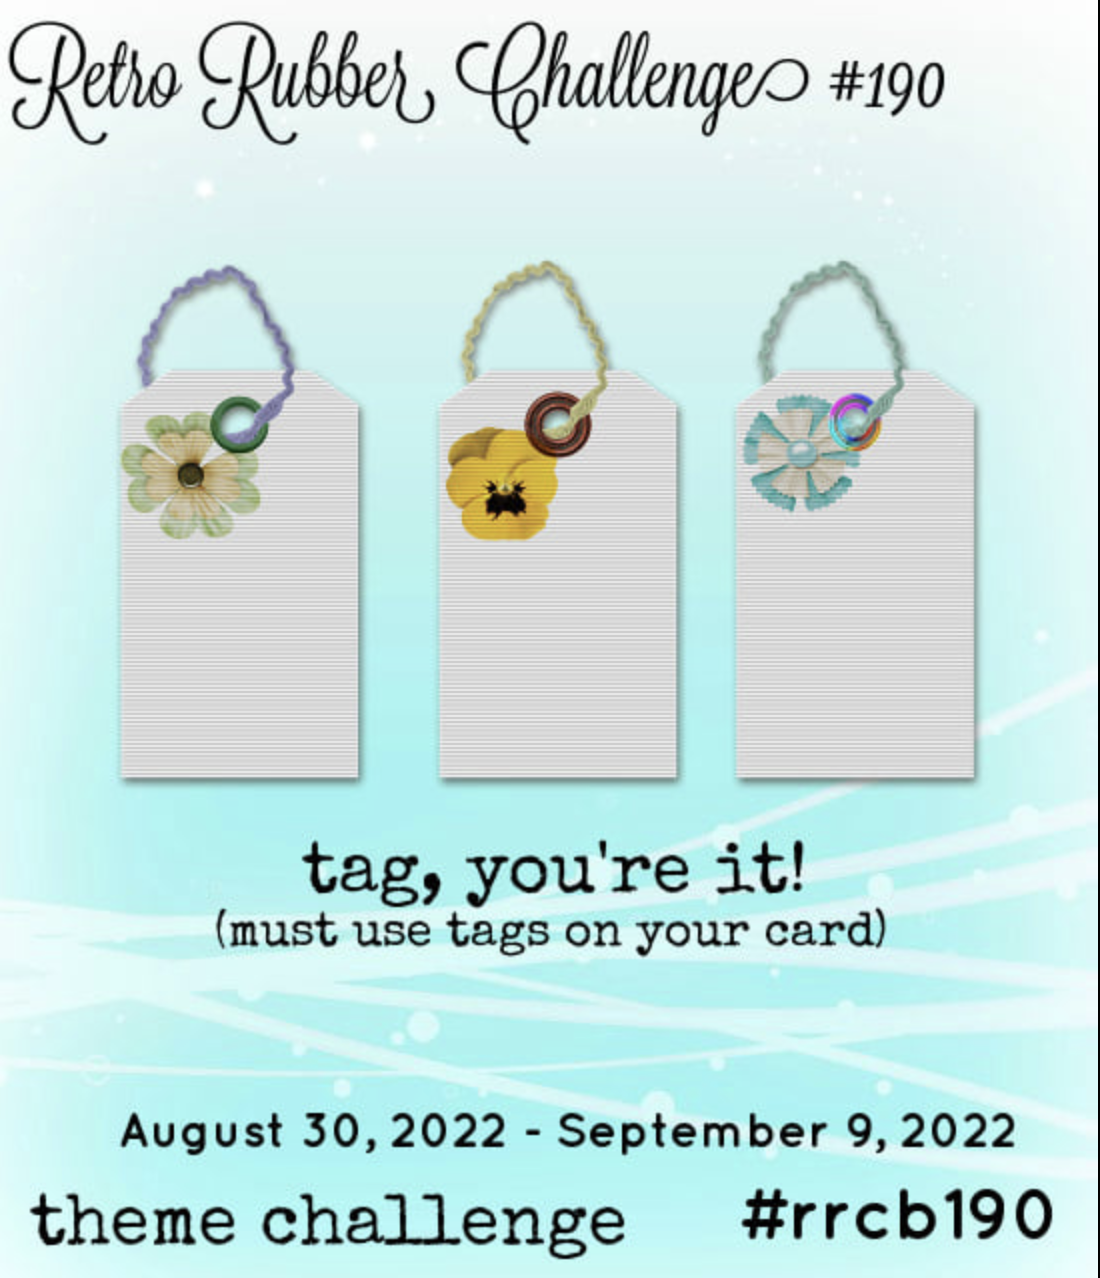
 The challenge at Retro Rubber for the next two weeks is to use a tag on your project.  This leaves a great deal of wiggle room!   Please check out the Design Team's interpretations of this challenge.


  I have a 4" x6" box of miscellaneous tags that were the inspiration of my card.  To fit the longer tag I decided on a slimline card size of 3 1/2 x 8 1/2".  

  •  I choose a stamp from Unity Stamp Company's . . . birthday jubilee set from July of 2013.  It is stamped in Memento Peanut Brittle.  All of the tags are also inked with Peanut Brittle.
  • To add a little interest to the next tag I used the Paper Studio Stars embossing folder, then directly inked the raised stars with Peanut Brittle.
  • The last tag has Burlap Ribbon adhered, a bit of ephemera found in the latest cleanup of my craft desk.  Fits perfectly!
  • I pulled out AC Twine in dark brown, then Darice in neutral and tied bows on each tag.
  • All the layers are adhered together and I have an easy peasy quick masculine birthday card ready to go!
Thanks for stopping by, I hope your summer is going well!  Please do enter you project in the gallery over at Retro Rubber Blog Challenge!  


Thursday, August 25, 2022

Create a Watercolor Sunflower using stencils and Fireworks!


In today's tutorial I will share how I used layering sunflower stencils to create a water color look to my image.  Notice there is no stamp outline, that helps achieve a more organic look to the project.  I learned a few things along the way, and almost want to include a few blooper photos!  Instead I share the way that will give you the cleanest look avoiding the pit falls!

Skill:  Intermediate

Time:  2 hours

 Directions:

Step 1:

Trim white watercolor cardstock to 4 1/4" x 9 1/4",  or about 1/4" on each side larger than your stencil.  this will allow you to handle your project more cleanly.  Use reposition able painters tape or washi tape to secure stencil along left side with edges matching along the upper and left hand side.  Spritz with Fireworks! in New Sprout until color depth desired is achieved.  In this close up photo freezer paper is used underneath the stencil and paper with the plasticized side up.  This allows collection of the over spray for background papers.    Carefully lift stencil to keep excess Fireworks from leaking under the stencil and adding unwanted color. 

Step 2:


 Secure next layer of layering stencil in place and spritz with Fireworks! in Bamboo Leaves.  This photo shows a spray box that protects your work area from over spray.  It also shows the best distance of 12" to 18" to spray the stencil to avoid large droplets of Firewoks. 
 
Step 3:


Clean stencils with sections of watercolor paper after each layer.  Move the watercolor paper around on the freezer wrap to pick up excess spray.  Keep color families together, as both colors of green are used on this background paper.  Clean up excess with paper towels or baby wipes. 

Step 4:

Continue with additional layering stencils.  Here Dandelion is used for Stencil 3, and Tangelo for Stencil 4. 

Step 5:


Sometimes as a designer you discover easier methods in the process of designing a project.  I was not satisfied with the color through the stencil by just spraying with the stencils that were smaller openings.  It is recommended to use this method for the rest of the layers.  Fireworks! in Tangelo is shown here sprayed on a plastic sheet.  Using a cotton swab the color is carefully dabbed through the stencil to give better color depth.  A cotton swab also prevents leakage underneath the stencil of excess color.  A lot less of the spray was used with this method!  Stencils 5 and 6 used this method to complete the look.  Stencil 5 used Fireworks! in Lilac Posies, and Stencil 6 a mixture of Fireworks! Rich Cacoa (for shimmer) and Walnut Ink in Java for a darker color. 

Step 6:


Here are the images from the entire stencil set.

Step 7:

One "blooper" photo, all the backgrounds made with the over spray and Fireworks! left on the stencils.  To be used in future projects?  The green sheet is trimmed to 4 1/4? to 5 1/2" to cover the front of the card.

Step 8:


Tap drop of Fireworks! in Dandelion on white watercolor paper trimmed to 3 3/4" x 5".  Use quilted card front die to add texture to front panel.

Step 9:

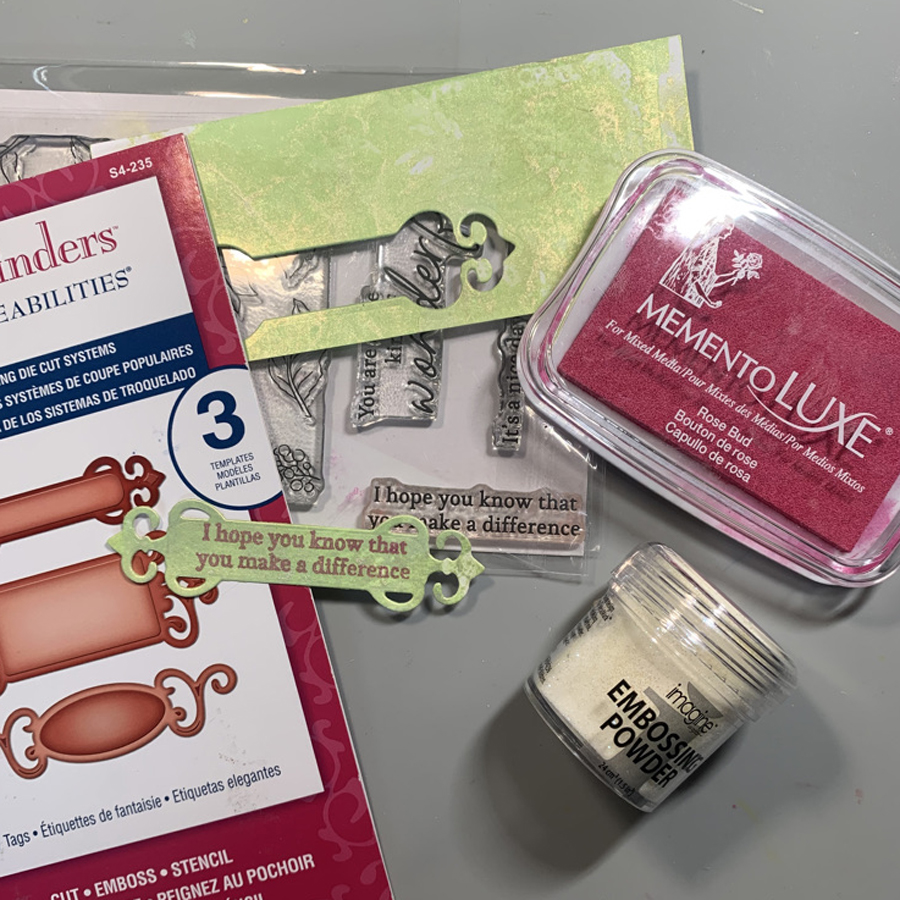
Part of the remaining background section is stamped with Memento Luxe in Lilac Posies using a sentiment from the Sunflowers stamp set.  It is die cut with a Spellbinder die.

Step 10:


The Sunflower is die cut with the coordinating die.  The layers are adhered together with Tear It! Tape with dimension foam tape behind the card front.  


Art Supplies

Imagine:

Fireworks!--New Sprout, Bamboo Leaves, Dandelion, Tangelo, Lilac Posies, Rich Cocoa

Walnut Ink--Java

Memento Luxe--Lilac Posies

Embossing Powder--Iridescent

Tear It! Tape

Other:

White Watercolor Cardstock

Pink Fresh Studio Sunflowers Stencils, Coordinating Die, and Clear Stamp

Concord & 9th Quilted Card Front Die

Spellbinders Fancy Tabs

Dimension Foam adhesive

Cotton swabs

Die Cut machine

Stamp Platform


Tuesday, August 16, 2022

Gnarly . . . it's the 80's Thinking of You card

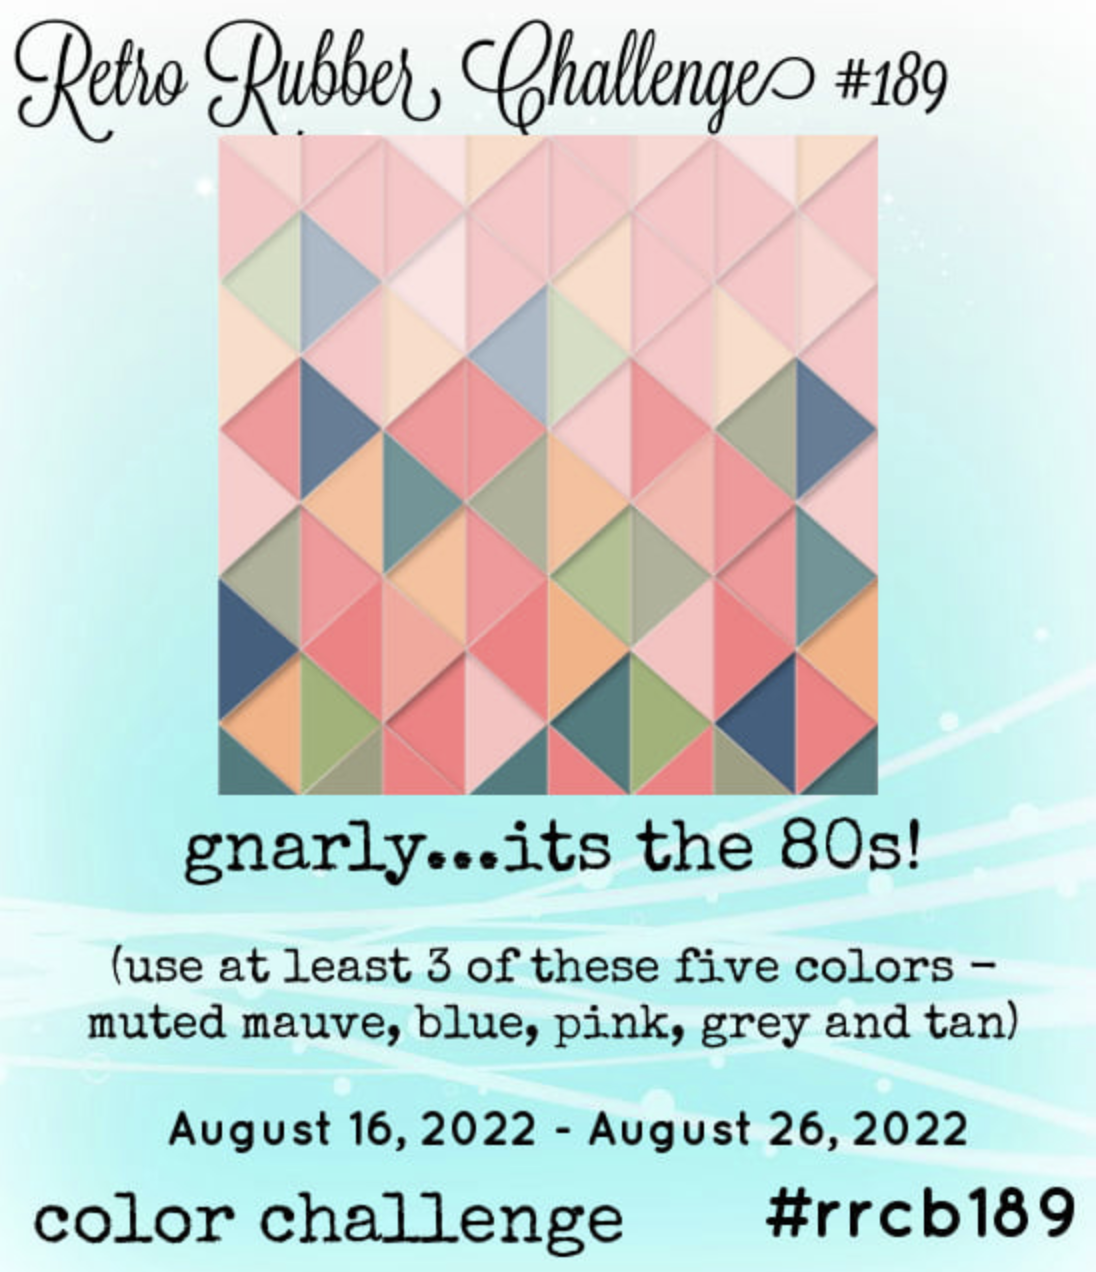
Our color challenges at Retro Rubber this year have been inspired by the decades.  For this challenge we are headed to the 80's!  Please do come join the fun and enter your project in our gallery!


Although my card does not represent the color pallet as shown above, it does include muted mauve, blue, grey, and tan.  Hot of the Press You Greetings from 2018 are front and center on this masculine card.


  • In my scrap card supply bin I have papers from two ancient Basic Grey collections, Granola and Aged and Confused that had that gnarly feel. The background is trimmed to 4" x 5 1/4", the grey is trimmed to 3" x 5 1/4", the the strip is 1 1/4" x 5 1/2".  
  • All edges are inked with Memento Luxe in Sweet Plum.
  • The "YOU" is die cut from the Hot Off the Press You Greeting die set.
  • The layers are positioned to determine the location of the sentiment "thinking of" which is stamped in Sweet Plum.  Just a touch of muted mauve from the color scheme!

 CHALLENGE GUIDELINES

  • We require stamps older than one year.  If we feel you are using newer stamps, you may be disqualified from the challenge without notification.
  • New papers/dies are OK – but you must use at least one stamp older than a year and describe the age in your blog post.
  • Please note that all challenges require the use of at least one stamp older than a year.
  • Post your new creation to your blog or online gallery.   Use keyword RRCB189.  No backlinking. 
  • Link back to the blog using the Linky Tools by the due date. 
  • You may enter no more than 5 times. 
  • Feel free to combine our challenge with a maximum of 10 challenges.  Entries linked to more than 10 challenges will be disqualified without notification.
  • If your project is posted on a private group site such as Split Coast Stampers or a photo sharing site not all DT members may be able to comment.   Thank you for understanding.
  • Turn off Word Verification.  We love to comment but word verification can make that difficult.

Tuesday, August 2, 2022

Elegant but CAS Sympathy Card for Retro Rubber Anything Goes

It is the season of life where I need to make sympathy cards.  For friends who have a parent pass, or even siblings of friends.  Anything Goes at Retro Rubber is a good challenge for this type of card.

This clean and simple card uses ink, an embossing folder, a stamp, and ribbon and takes about 10 minutes to complete!

  • Ink is directly applied to the embossing folder with a brayer on the high points.  White cardstock is placed and attention is paid to not allowing it to move before it is pressure embossed.  Brilliance Pearlescent Poppy was my ink of choice for this card.  Once embossed the ink appears in the valleys of the impression.  The card front is trimmed to 4" x 5.25" and then inked in Brilliance Pearlescent Poppy.
  • The sentiment is from Unity Stamp Company's ". . . beautiful life, blessed memories" set released in January 2015.  
  • A matching ribbon is tied in a bow and adhered with a glue dot.
  • The card front is adhered to a A2 card base 4.25" x 5.5".

I hope you will join us at Retro Rubber for our Anything Goes challenge.  Thanks for stopping by!

 CHALLENGE GUIDELINES

  • We require stamps older than one year.  If we feel you are using newer stamps, you may be disqualified from the challenge without notification.
  • New papers/dies are OK – but you must use at least one stamp older than a year and describe the age in your blog post.
  • Please note that all challenges require the use of at least one stamp older than a year.
  • Post your new creation to your blog or online gallery.   Use keyword RRCB186.  No backlinking. 
  • Link back to the blog using the Linky Tools by the due date. 
  • Enter as many times as you like. 
  • Feel free to combine our challenge with a maximum of 10 challenges.  Entries linked to more than 10 challenges will be disqualified without notification.
  • If your project is posted on a private group site such as Split Coast Stampers or a photo sharing site not all DT members may be able to comment.   Thank you for understanding.
  • Turn off Word Verification.  We love to comment but word verification can make that difficult.

Tuesday, July 19, 2022

Create Your Own Perfectly Matching Background Paper!


In today's tutorial I will show you how to create a background paper that will allow your photo(s) to shine on a scrapbook layout.  Using Memento Inks that match the photo allows the photo to be the center star of the layout.  All the embellishments will also match by coloring with the same inks.  The background itself is super quick and simple, and can be used for cards as well as layouts.

Skill:  Beginner

Time:  1 hours

 Directions:

Step 1:


Select ink colors that are in the photo you wish to highlight.  In my case it is one of my favorite photos from our travels to Oahu when we climbed to the top of Koko Head.  The stunning blue, brown, and green directed my choice of ink colors.  In this step Memento in Peanut Brittle is brayered randomly over a sheet of canvas textured white cardstock.  Cover about a third of the cardstock in varying levels of ink layers.  The key to this technique is to not look for perfection, just go for a fun look!

Step 2:


Memento Bahama Blue is used to ink the next layer in the background.  A good quality rubber balloon is filled with popcorn and tied off.  This is used to ink with random size dots in varying ink intensities on the background covering about one more third of the paper.

Step 3:

A second balloon filled with rice gives a slightly different ink look for the last layer using Memento Olive Grove.  Fill in the remaining open areas on the cardstock to finish the background.

Step 4:


The embellishments are shown here as one step, as the main focus of this tutorial is the background technique.  Smooth texture cardstock is used for all the embellishments as it die cuts more cleanly.  A frame of white cardstock is trimmed to 7 1/2 " x 5 1/2 " and inked with Memento Luxe in Peanut Brittle.  The Luxe ink blends a little more easily over larger areas.  The title is die cut in triplicate, then adhered together with small dots of OnPoint Glue around the die cuts to add dimension, and finally inked with Memento in Danube Blue.  A die cut of the island of Oahu is inked in Memento Olive Grove.  

Step 5:


When the photo was layered over the frame the match between the soil and the Peanut Brittle was so close, they blended together!  The edges of the photo are inked with StazOn in Jet Black to add definition to all edges of the photo, and allow the photo to stand out from the frame.

Step 6:

A journal block is written on the computer and printed out using photo settings and trimmed to size.  A frame is trimmed 1/4" larger than the journal block and inked in Memento Danube Blue.  The two are adhered together with Tear It! Tape.

Step 7:

 
The elements of the layout are placed on the background and adhered with Tear It! Tape or OnPoint Glue.  Memento Dual Tip Marker in Tuxedo Black is used to mark a small "X" as to the location of Koko Head on the Island of Oahu.   

Art Supplies

Imagine:

Memento--Peanut Brittle, Danube Blue, Olive Grove

Memento Luxe-- Peanut Brittle

StazOn--Jet Black

Memento Dual Tip Maker--Tuxedo Black

Ink Daubers

Tear It! Tape

On Point Glue

Other:

White canvas textured cardstock

White smooth textured cardstock

2" Rubber Brayer

Rubber balloons with popcorn and rice

Momenta Casual Script Alphabet Dies

Die Cut machine

Brother Scan and Cut 

Silhouette Design Store--Hawaii State die cut modified, Candy Apple Bold Script

Enjoy using a Tic Tac Toe challenge

This is a great Tic Tac Toe Challenge at Retro Rubber!  Please do join us and share your projects with us!  The Design Team have come up with some great cards!


The diagonal nature (flowers), green (leaves), and die cut (matching dies for this set) worked perfectly to create this elegant card.  This stamp set is one of the first stamp layering sets I purchased.  It is from Altenew in 2014 named Vintage Flowers with matching dies.  I choose one style of flower from the set even though there are others to choose from.  A stamp platform comes in very handy to stamp multiples of the same image in different colors.

  • The flowers in stamped on glossy cardstock which makes them a bit more vibrant than non-glossy cardstock.  Memento in Elderberry, Sweet Plum, Lilac Posies, Angel Pink, and Lulu Lavender are used to created the multi-hued flowers.
  • The leaves and stems are stamped in Memento Pear Tart, Bamboo Leaves, and Pistachio.  
  • All the images are die cut with matching dies. 
  • Kraft cardstock is die cut with Elizabeth Craft Designs Stitched Rectangles.
  • A slightly larger layer was trimmed to 4.75" x 5.75" from white cardstock then inked with an ink dauber and Memento Sweet Plum.  I also inked the center of the cardstock and die cut the sentiment Enjoy using the Echo Park Sentiments die word set.  
  • The layers are adhered together on an A7 size card (5" x7") with OnPoint Glue, with a few flowers and leaves popped up for dimension with foam adhesive. 

 Thanks so much for stopping by, I hope you enjoy this version of a Tic Tac Toe!  Come enter your project or card at Retro Rubber.

 CHALLENGE GUIDELINES

  • We require stamps older than one year.  If we feel you are using newer stamps, you may be disqualified from the challenge without notification.
  • New papers/dies are OK – but you must use at least one stamp older than a year and describe the age in your blog post.
  • Please note that all challenges require the use of at least one stamp older than a year.
  • Post your new creation to your blog or online gallery.   Use keyword RRCB187.  No backlinking. 
  • Link back to the blog using the Linky Tools by the due date. 
  • Enter as many times as you like. 
  • Feel free to combine our challenge with a maximum of 10 challenges.  Entries linked to more than 10 challenges will be disqualified without notification.
  • If your project is posted on a private group site such as Split Coast Stampers or a photo sharing site not all DT members may be able to comment.   Thank you for understanding.
  • Turn off Word Verification.  We love to comment but word verification can make that difficult.